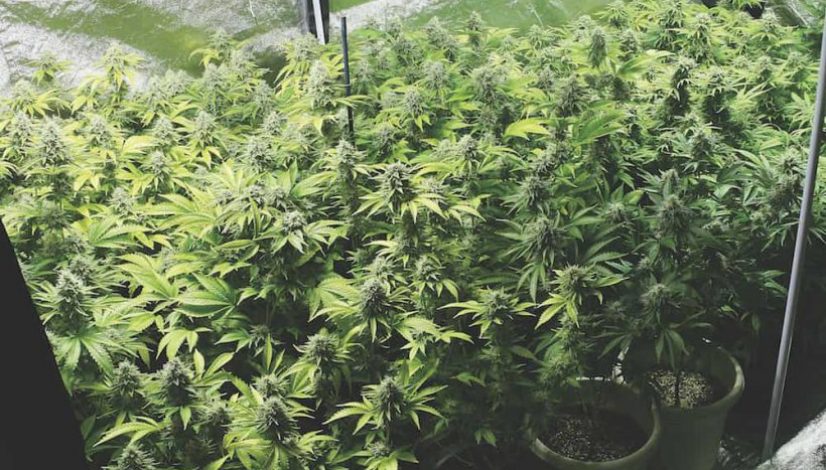
The Ins and Outs of Growing Cannabis at Home
In a new era where giant industrial growrooms are becoming the norm, we thought it would be valuable to get back to our outlaw roots this month. Specifically, we’re going back to our growing roots—in a closet, tent, garage or unfinished basement. Despite more and more states legalizing and regulating cannabis, there are still many people that need—or want—to grow a few plants stealthily in their own home, for legal or economic reasons. Here are the steps you need to know to grow great cannabis at home.
Locate a Space
Nico Escondido/ High Times
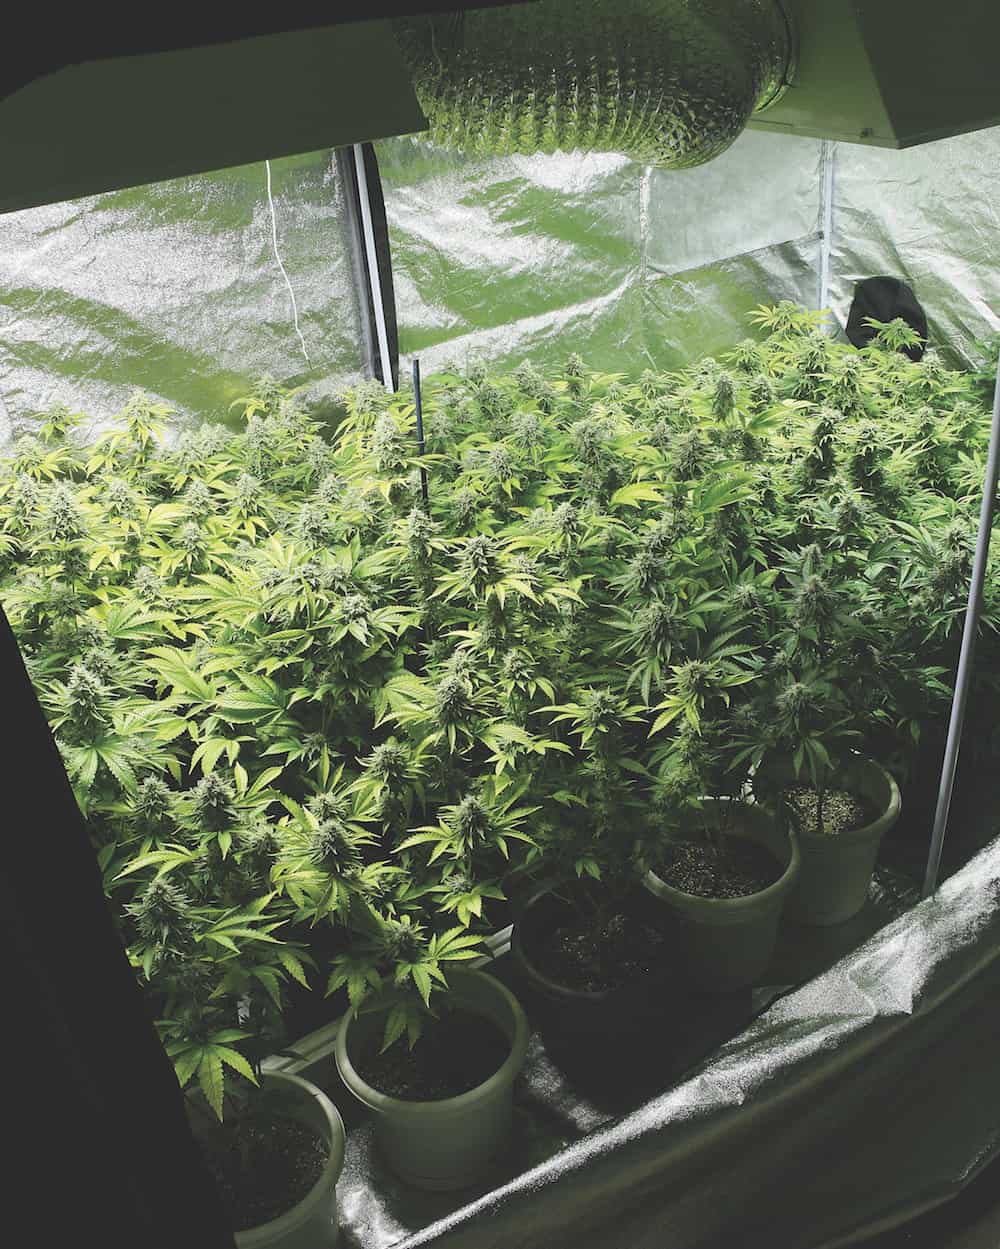
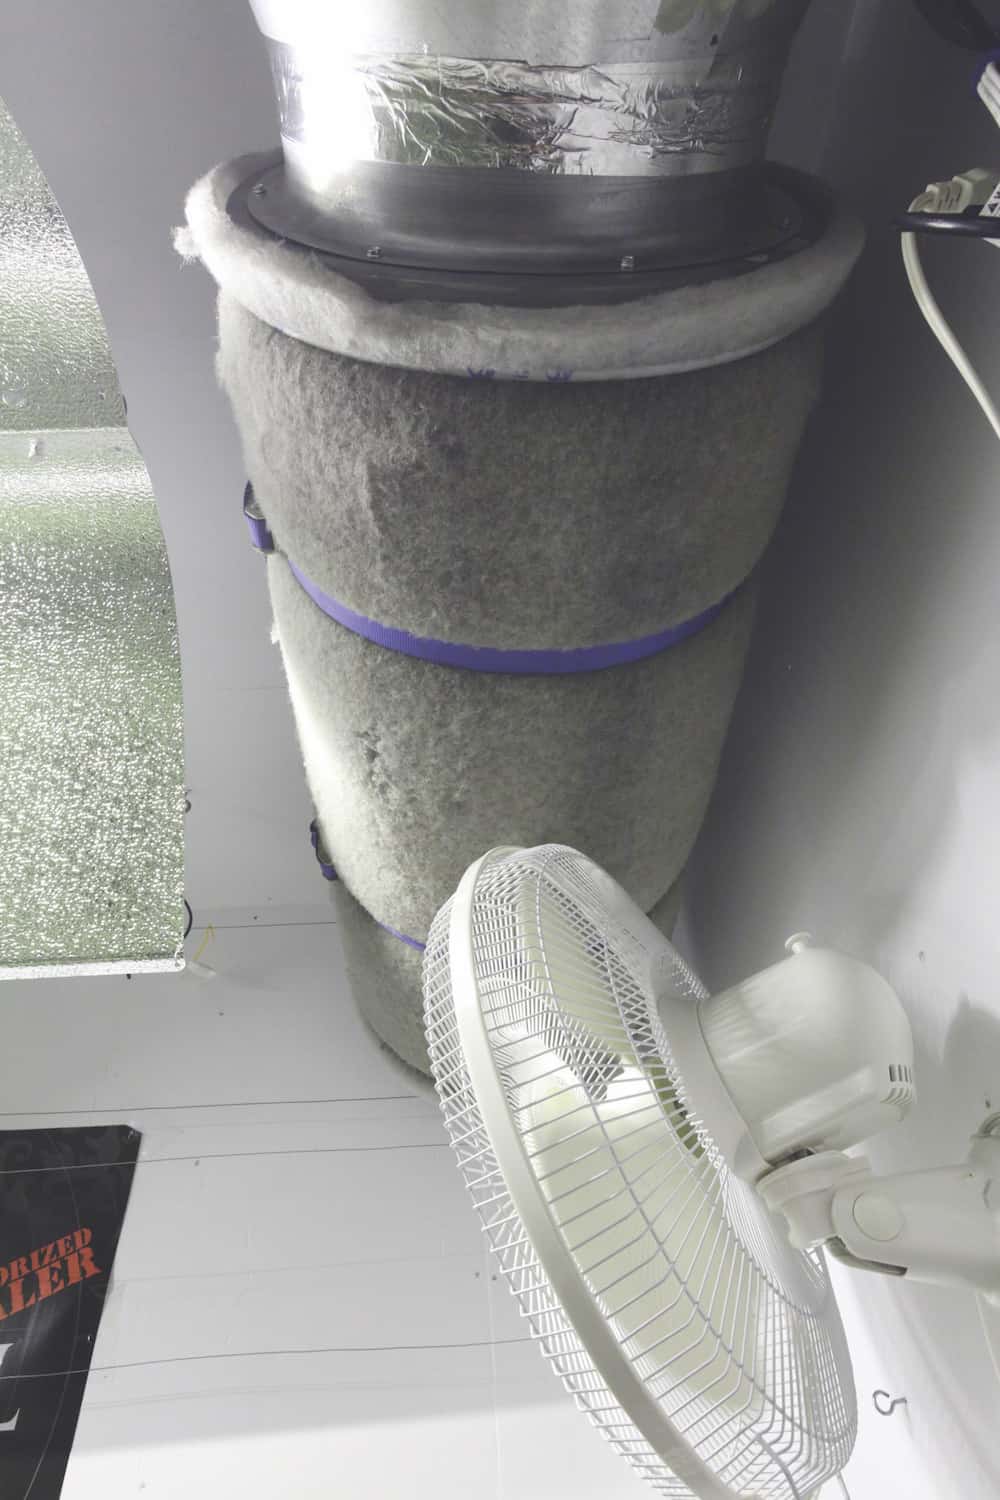
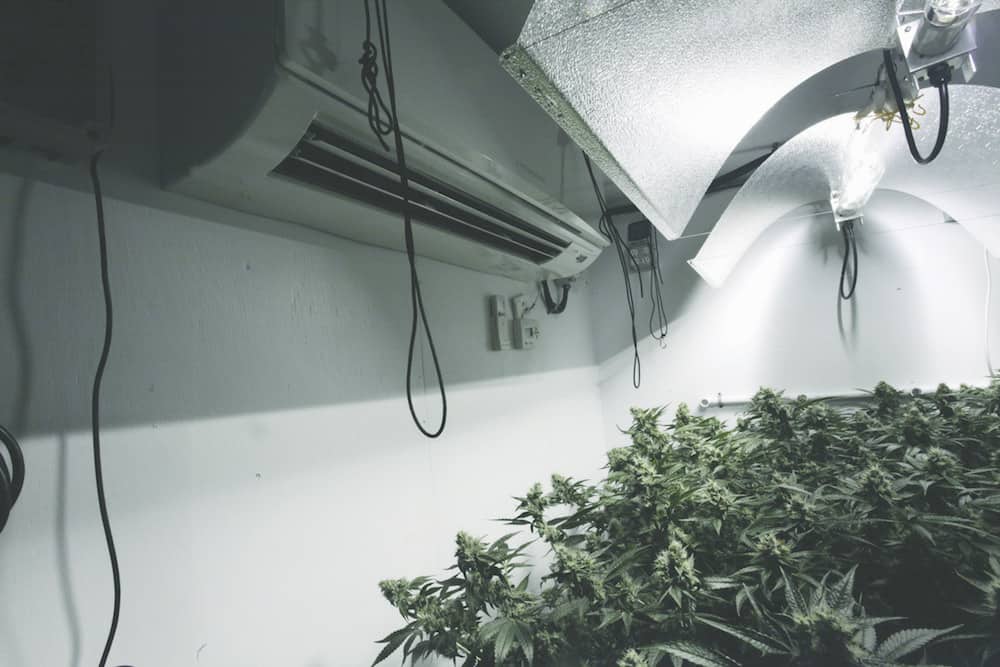
The first step is to find a space that has good airflow. This is usually a room with a window or exhaust to the outside. If you are growing in a warm climate, you will want to use a space with built-in air conditioning, as this will keep your plants cool during the warmer days. The logic behind airflow is to replace the warm air in the space with cooler air, as cannabis plants tend to like a temperature around 76°F with humidity at around 60%. It is important that you have fans both pulling warm air out of the space and drawing cooler air in.
Nico Escondido/ High Times
Typically, you want to have negative pressure, which creates optimal airflow. A sign that you have negative pressure would be when you close a grow tent and the sides buckle slightly inward. (For our purposes here, we will often use the example of a grow tent to describe the garden space. Not only are grow tents relatively cheap these days, but they also come in every size imaginable to fit any space in a house. On top of that, grow tents can be sealed, making it easy to control light and atmospheric conditions, and they come with nooks, hooks, and ports for garden equipment such as fans, filters, and lighting.)
When calculating what kind of exhaust fans to use, make sure that the amount of cubic feet of air they move into the tent is about a third of the amount they move out of the tent. This way you will achieve the right negative pressure.
Nico Escondido/ High Times
Most grows these days make use of fans, which are great for moving air in and out of the garden, but this will never make up for atmospheric pressure, which occurs in nature in the form of high- and low-pressure weather systems. This pressure is vital for the plants to breathe properly. Plants breathe through respiration, and this pressure makes it easier for the leaves to transpire. Even in a small tent or growroom, this principle is important as it will give your plants the optimum environment in which to grow.
Garden Lighting
Nico Escondido/ High Times
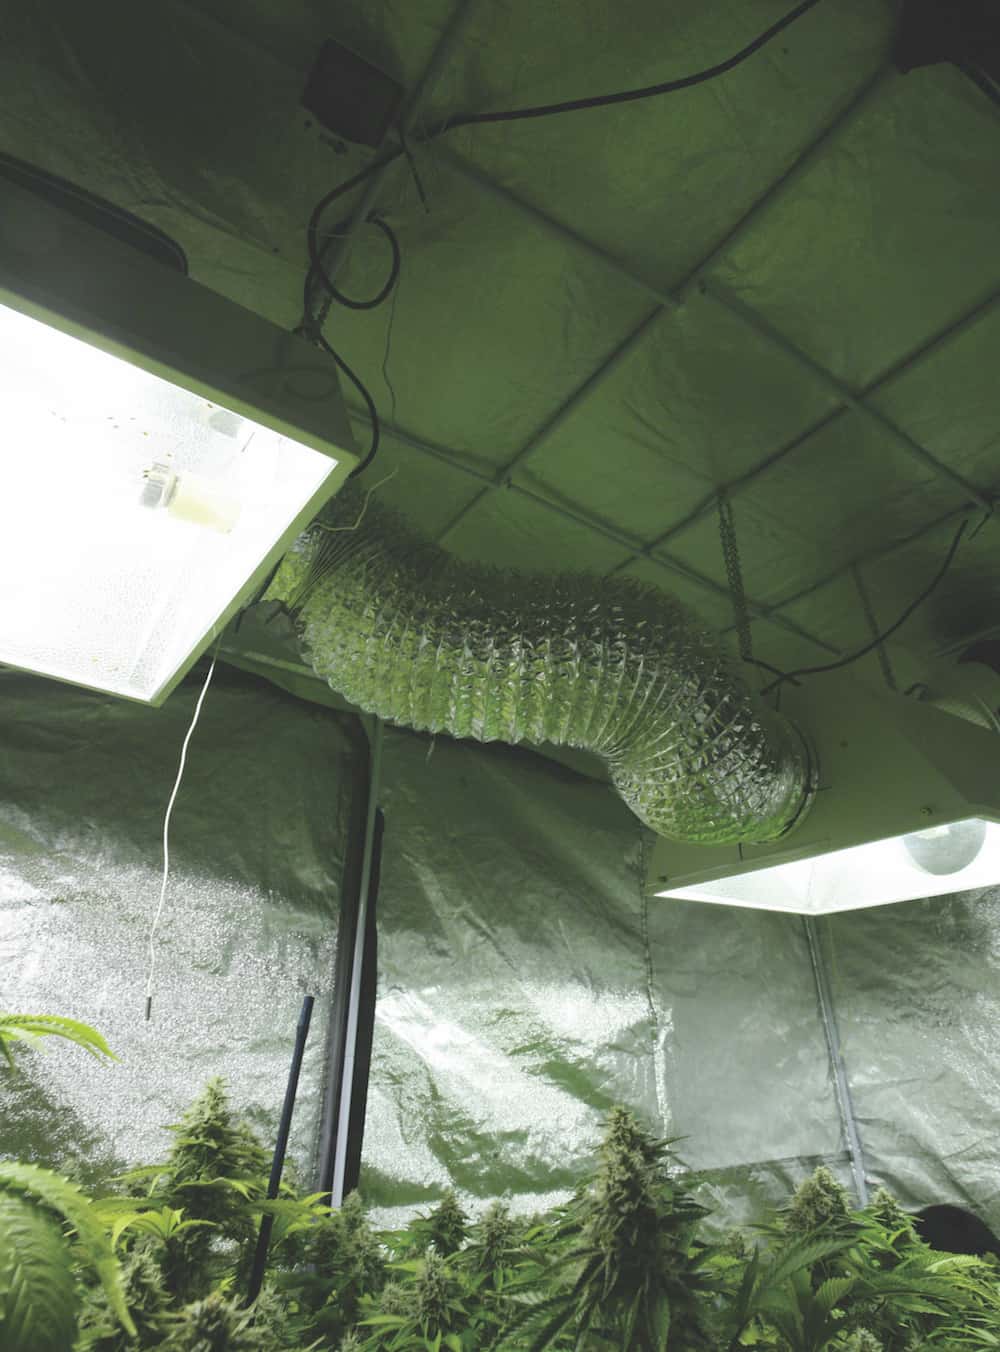
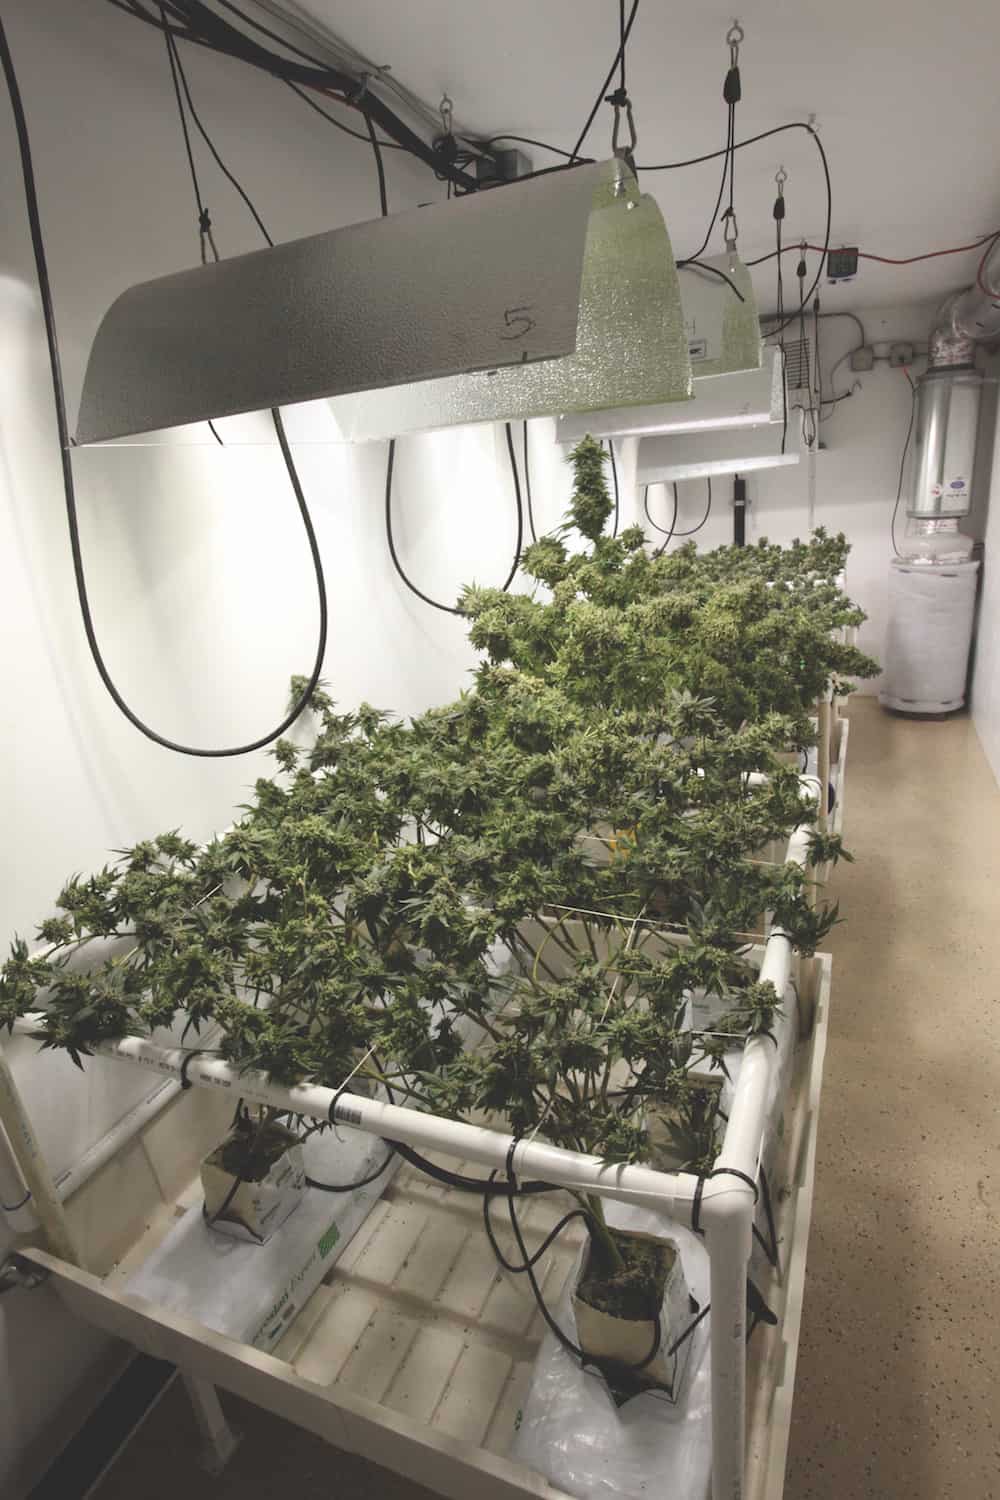
Next, consider lighting. If temperature and space are less of an issue, it is recommended that growers use standard high-pressure sodium (HPS) lighting. Traditionally, HPS lights come in the form of a hood and bulb connected to a ballast. Nowadays, lights like Gavita-brand DE fixtures have a ballast attached. Based on how the light is shaped, you will need at least 4-5 feet of height from the top of your canopy to the ceiling to have enough room for the ballast and light to fit. Otherwise, you could risk burning your plants. Also, be sure to use the appropriate wattage depending on the size of your space. Usually, a 5′ x 5′ tent can handle a 600-watt light.
Another option would be to use LED lights. Modern advances in LED technology have helped them catch up with their HPS counterparts. However, don’t expect your yields to increase with the use of an LED lamp as the PAR (photosynthetically active radiation) from an LED lamp is generally much less than that from an HPS light (PAR is the radiation given off by the lights that plants can absorb and use during photosynthesis). Nonetheless, we’ve seen buds produced under the newest LEDs, and they’ve finished with a firm, hard structure. Usually, the benefit to the home grower is that LEDs use less power and give off less heat, making it easier (and less expensive) to cool your tent or small room. However, the newer LED models that compete with HPS or metal-halide (MH) lamps often lose these advantages, adding more diodes that create more heat and pulling a lot more power to the lamps in order to achieve competitive light output.
LEDs can produce nice trichome coverage, and the cannabinoid and terpene levels produced have been tested at comparable values to HPS lighting. These lights can also be hung closer to the plants in case height requirements are an issue, and they also offer a longer life cycle in terms of bulb replacement. It should be noted, though, that the best LED lamps on the market today are much more expensive than their MH and HPS counterparts.
System & Medium Type
Nico Escondido/ High Times
You next need to decide what medium to use and how to grow your plants. Unless you are an experienced cultivator, using potting soil and a light organic nutrient solution would be the best and most forgiving choice.
Make sure that the soil is well aerated. This means finding a brand that has a decent amount of perlite in it. Perlite opens up the dirt, allowing more air to pass to the roots and preventing it from forming a muddy pool. Using cloth pots is also recommended—the logic being that if you are going to veg your plants for a while you should use bigger-size pots. Depending on veg time, you can use up to a 2- or a 5-gallon pot. If plant count is an issue, stick to a long veg time and grow a bigger plant. This way, when it comes time to flower, you will end up with a much bigger yield.
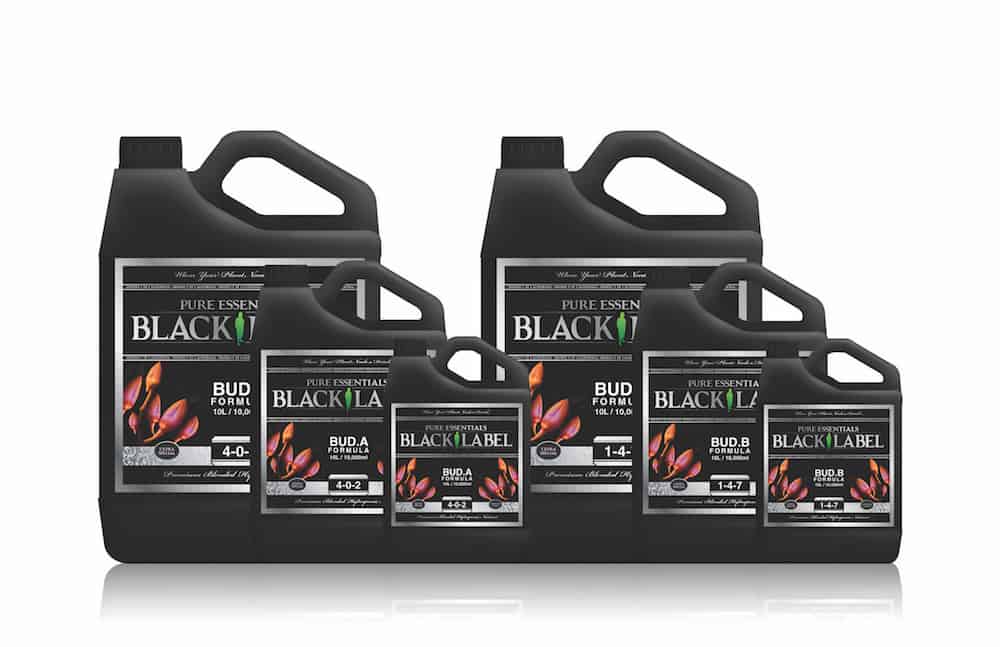
Nutrients like Mother Earth Tea or Iguana Juice Bloom from Advanced Nutrients are simple organic nutrients that work well and give your finished flower a great taste. The reason for choosing a simple medium and nutrient plan is that it’s hard to overfeed and the medium acts as a buffer, so it will be easier to maintain the pH of the water. Potting soil is one of the easiest mediums to use because it’s so forgiving. The biggest issue that you might have is over- or under-watering. Make sure to feel the weight of your plants both when they’re thirsty and when they’re full of water so you can get a sense for how much they are drinking. This will ensure that you don’t over-water.
When in flower, cannabis plants prefer a pH in the range of 5.8-6.5, and they don’t like to be overfed. The best advice is to keep it simple. This also goes for nutrients. It’s always best to start off with half the recommended dose and build your way up. Make sure to pay attention to your plants in the process. If the leaves begin turning yellow, then your plants are experiencing a burn and you will need to lower the amount of nutrients you are using. Always be on the safe side and remember the motto: Less is more.
Genetics, Seeds & Clones
Nico Escondido/ High Times
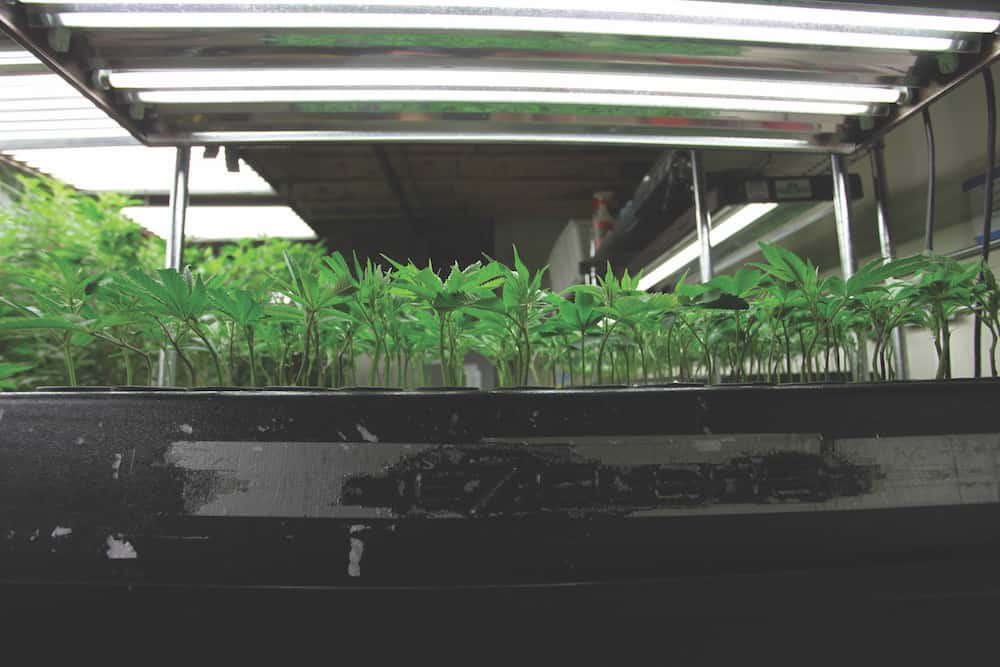
Now it’s time to choose what genetics or cultivars to use. More often than not, clones are more readily available, especially in legal states where dispensaries are allowed to sell them. However, this doesn’t mean that clones are the best choice. As was discovered recently through several news stories and secret-shopper lab tests in California, many pesticides are systemic and are passed from mother plants to clones. This means that unbeknownst to you, the final buds you end up with might be contaminated with unhealthy pesticides.
Seeds are always a better choice in that respect. Clones can also bring pathogens into a grow, as that’s often how powdery mildew (PM) or spider mites enter a clean garden. Even if your clones look clean, PM is systemic and can be carried from the mother plant. With the right environment, it could explode in your garden and leave your head stash ruined. In a pinch, choose feminized seeds as they will provide you with the most females. However, be warned that many feminized seeds will be hermaphrodites, meaning that there’s a good chance of finding trace amounts of male pollen and eventually a few seeds. Watch your plants closely and look for any balls forming right at the points where the stems merge with the central stock of the plant. Remove those plants before they release their pollen.
Nico Escondido/ High Times
We also recommended that you use a simplified integrated pest management (IPM) protocol. Traditionally, oils have worked very well at combating various garden pests. Specifically, use neem oil and fish oil, in the form a product called Organocide 3-in-1 Garden Spray. At low doses, as long as you spray in the dark, you will be fine. However, with an infestation and at higher doses you will want to rinse the oils off your plants after spraying. This might seem counterproductive, but the oils will still do their work and at the same time you won’t clog the stomata of the plant. Green Clean is another popular product that can work well against pathogens and doesn’t require a hazmat suit to spray. Small pump-action sprayers are available at most grow shops and Home Depot. For the more adventurous cultivators, use large paint sprayers in the garden as they really wash the plants better than the handheld units. However, this could be overkill for a small 5-plant tent garden.
Harvest: Drying, Curing & Beyond
Nico Escondido/ High Times
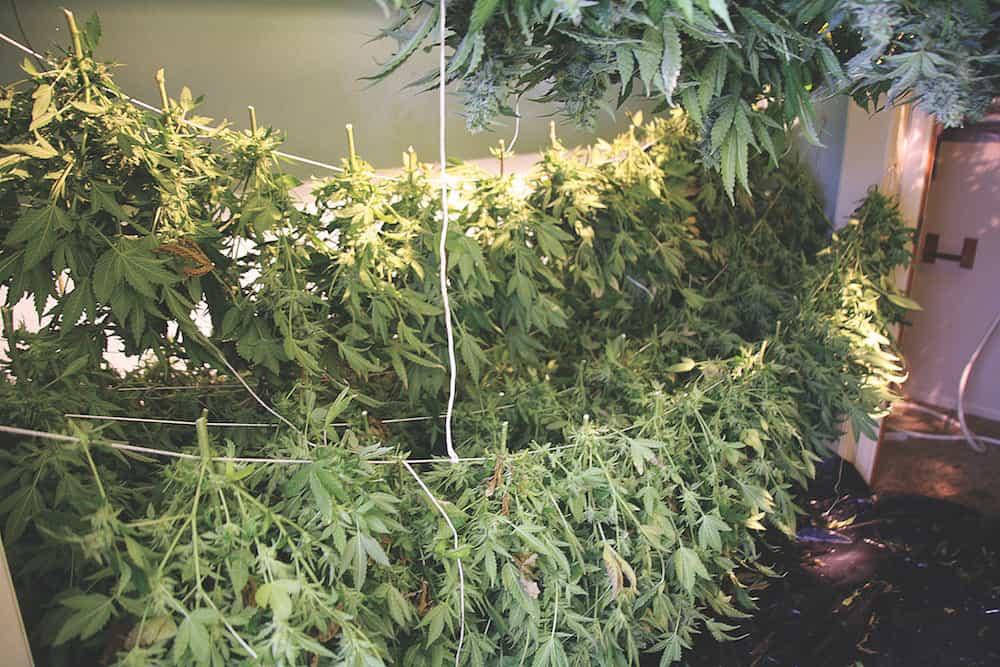
The final step, once you have grown out your plants, is the drying process. Using the same tent you grew in, cut down your plants and hang them upside down. Wait 5 to 7 days, checking the moisture daily. The ideal temperature should be around 75°F with humidity around 60%.
When the stems begin to snap, it’s time to trim up your head stash. It’s best to trim your buds over a screen, which will allow you to capture the trichome heads. This is known as dry sift hash or kief, and it is an excellent reward for the grower. There are many different types of screens available on the market, including a product called the Trim Bin by Harvest More, which has a screen built in on the bottom and is perfect for collecting hash.
Once your buds are trimmed, you should then store them in a cool, dark place in glass mason jars. It’s best to burp these jars daily, which means opening them up for a few minutes at a time. Once you’ve done this for a few days, your buds should be at an ideal moisture level and ready to smoke.
The Future of Home Growing
Nico Escondido/ High Times
It is always interesting to look ahead and see what the future holds for the home grower. Based on how technology has developed, specifically in the form of self-contained, app-controlled growrooms, the future is here. There are even small tabletop units being sold at stores like Ikea for small herb gardens. These boxes could be the future for home growers and hobbyists as they democratize the process of growing cannabis, putting it within the reach of the average person.
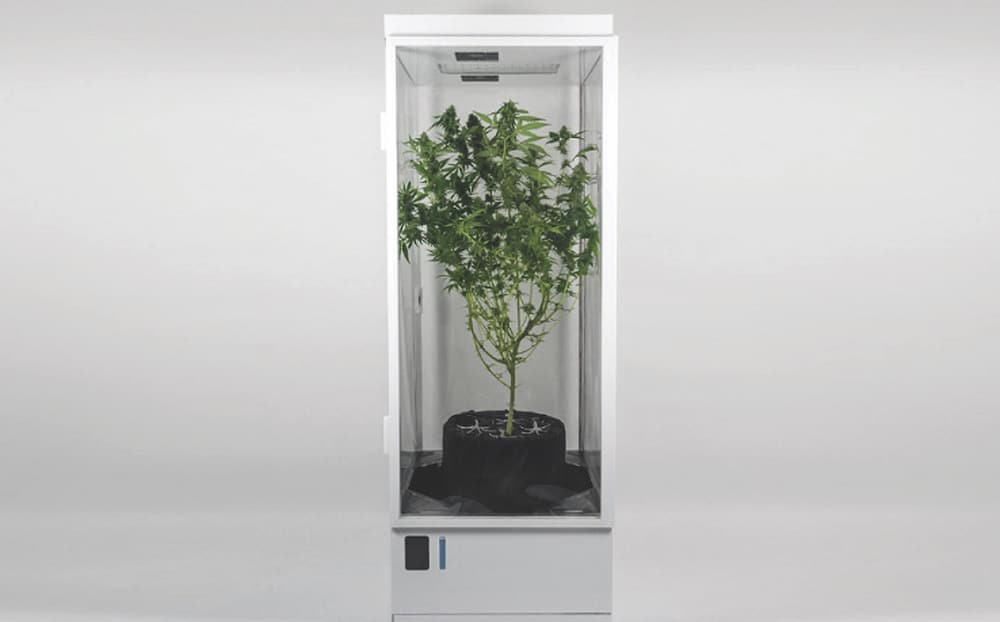
A new unit geared specifically to discreet, indoor home cultivation has come on the market. The Cloudponics GroBox is 24 inches deep, 31 inches wide and 6 feet tall. It fits seamlessly into a living room or kitchen and can hold 1-6 plants. The heart of the unit is an advanced aeroponics system that is controlled by a computer, which monitors the temperature, humidity and nutrients and keeps the light schedule. This computer, in turn, is connected via an app to your phone.
This connectivity gives even a new grower a leg up as the environment is controlled automatically. Normally, buds coming out of such boxes have been disappointing, but in our test case it appears improvements have aided in turning the corner. As a result of the dosing computer, the hydroponic setup, airflow and lighting, the buds actually had a solid structure to them. The flowers were produced by a grower with limited experience, which goes to show that with the right setup, a proper hydroponic system with exacting environmental controls can really produce a quality harvest. Newer grow boxes like these will take a lot of guesswork out of growing moving forward.
This feature was published in the June 2018 issue of High Times magazine. Subscribe right here.
The post The Ins and Outs of Growing Cannabis at Home appeared first on High Times.

